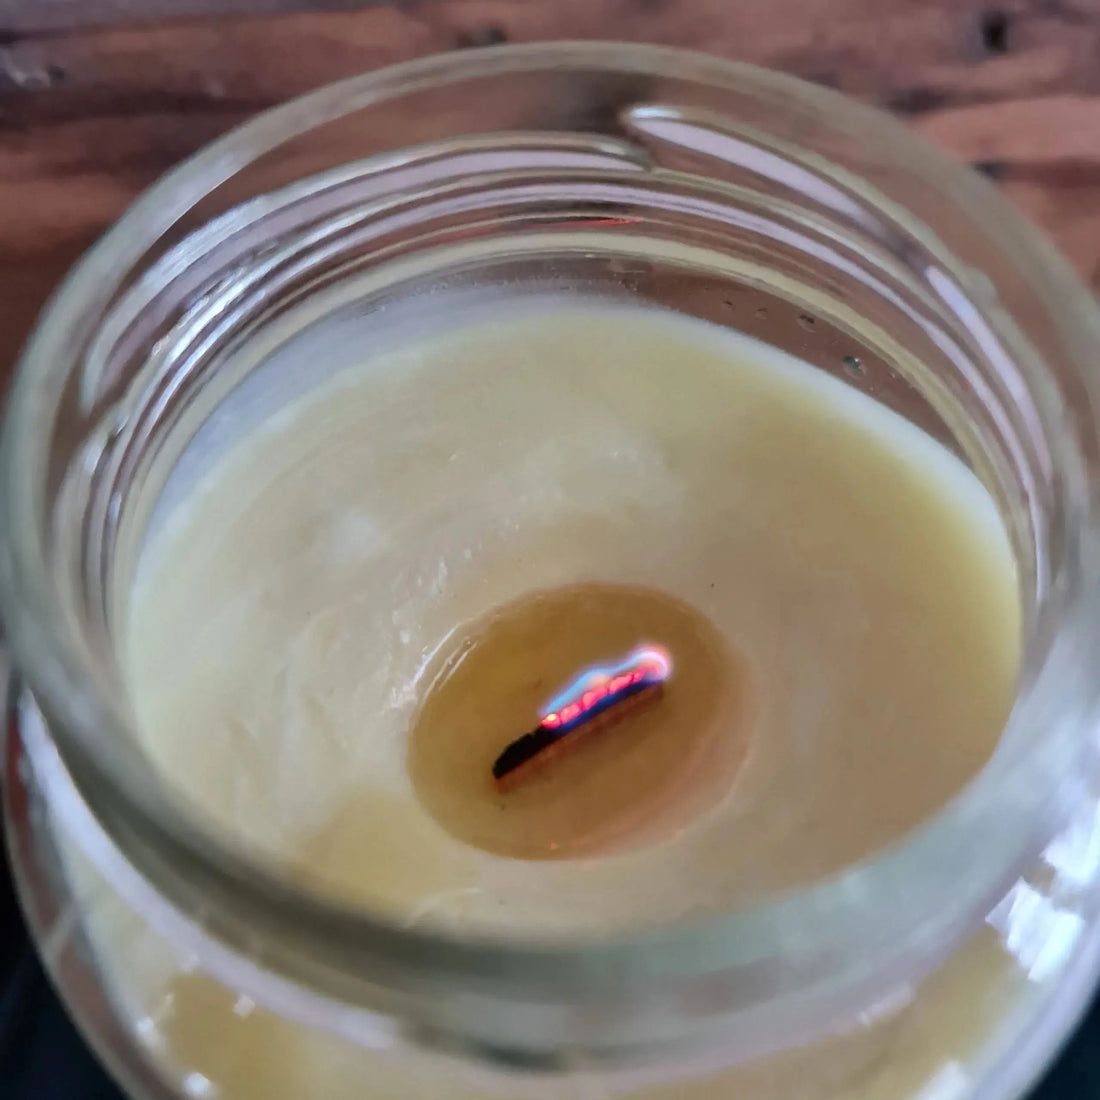
How to: Fix candle tunneling

Candle tunneling
If you’ve ever owned a candle, there is a good chance you have experienced “candle tunneling”, even if you’ve never heard the expression before. But what exactly is candle tunneling? And more importantly, how do we prevent if from happening? In this article, how to: fix candle tunneling, we’ll explain what exactly candle tunneling is, and the best ways to fix a candle and keep it that way in the future.
Why does tunneling happen?
Many people believe that tunneling is a side effect of a poor quality candle. This however isn’t true.
While you may experience tunneling more in lower quality candles, you can in fact experience tunneling even in the most expensive, luxury candles as well.
The main cause for tunneling in a candle, is actually down to the candle not being burnt properly. Candle wax is not as simple as it may seem, it actually has a memory and retains information from its previous burns.
When you burn a candle and the wax begins to soften and eventually melt, you start the memory straight away. But if you blow it out and let it set again, only the portion of wax that melted before is soft enough to start melting straight away, leaving the outer edges of wax still hard. As you keep repeating this pattern over time, you’ll get a tunnel start to form and the outer ring of hard wax will never melt and never release the scent within.
The other cause for tunneling comes down to the size of the wick used as well, for example if the wick is too small for the container then you can probably guess, you’ll get tunneling as well.
This is because the heat generated from the smaller wick is simply not enough to melt the outer edges of wax enough to turn it to liquid. This is generally only a problem in mass produced, cheap candles where no care is given to the quality of the candle or the materials used. Expensive candles, or hand crafted ones, are more often than not made with more care as to the quality of the end product and thus will be less susceptible to tunneling as a result of the wick size.
How do we fix tunneling?
If your candle has already started to tunnel, worry not! This problem can easily be solved now that you know what causes tunneling. You simply need to reverse the process as best you can.
At the root of the issue, quite simply the wax isn’t melting all the way. So all you need to do is melt the top layer of wax to correct the tunneling problem.
- Trim the wick to remove any burnt material and clean out any debris from inside the candle
- Take a hair dryer or heat gun if you have one and begin to carefully heat the top of the candle.
- As the wax melts, use a toothpick, or the end of a sharp knife to poke out the very outer edges if they’re not melting, they’ll begin to melt in the pool of liquid wax.
- Continue to melt the candle wax until the entire surface of the candle has melted and smooth.
- Now you can pop your hair dryer away, and relight the candle. Let it burn for at least 30 minutes to an hour, or until you can no longer see a tunnel.
- Snub out your candle and leave the wax to harden. This can take a few days to a few weeks depending on the type of wax to fully harden. At The Antler Candle Company, we use all natural soy wax in every candle, which takes up to 2 weeks to reach maximum hardness.
Congratulations, you’ve now saved that candle from an impending doom. Happy candle, happy you!
How do we stop it happening again?
The important thing to do here is to burn the candle correctly, which means letting a candle burn for enough time that the entire surface of the candle melts.
For brand new candles, the first burn is the most important. Remember, the memory of a candle starts the second you light it. Be sure to let your new candles burn for the first time, for at least 4 hours, or until the entire surface of the candle has melted. Keep that in mind going forward, and you shouldn’t have a problem with candle tunneling again!
Thank you for reading this article, we hope you found the information useful and have managed to make all of your candles happy again. And if you’re looking for your next candle, check out our shop to start customizing your very own.
